AI photo editor
Upload an image and describe what to change, from colors and objects to visual style
Try a description like this Change the mug to dark blue, keeping its shape and the tabletop background
How to edit photos with AI
Upload the photo you want to edit
Add a base image. To reference a color, object, or style, add reference images within the limit of your selected model.
Describe what to change and keep
For example, “Make the mug dark blue, keeping its shape and background.” Choose an aspect ratio and review the credit cost before generating.
Preview and download the result
Check the subject and details, then download the version you like. To make further changes, use the result as a new base image.
Try different styles with the same photo
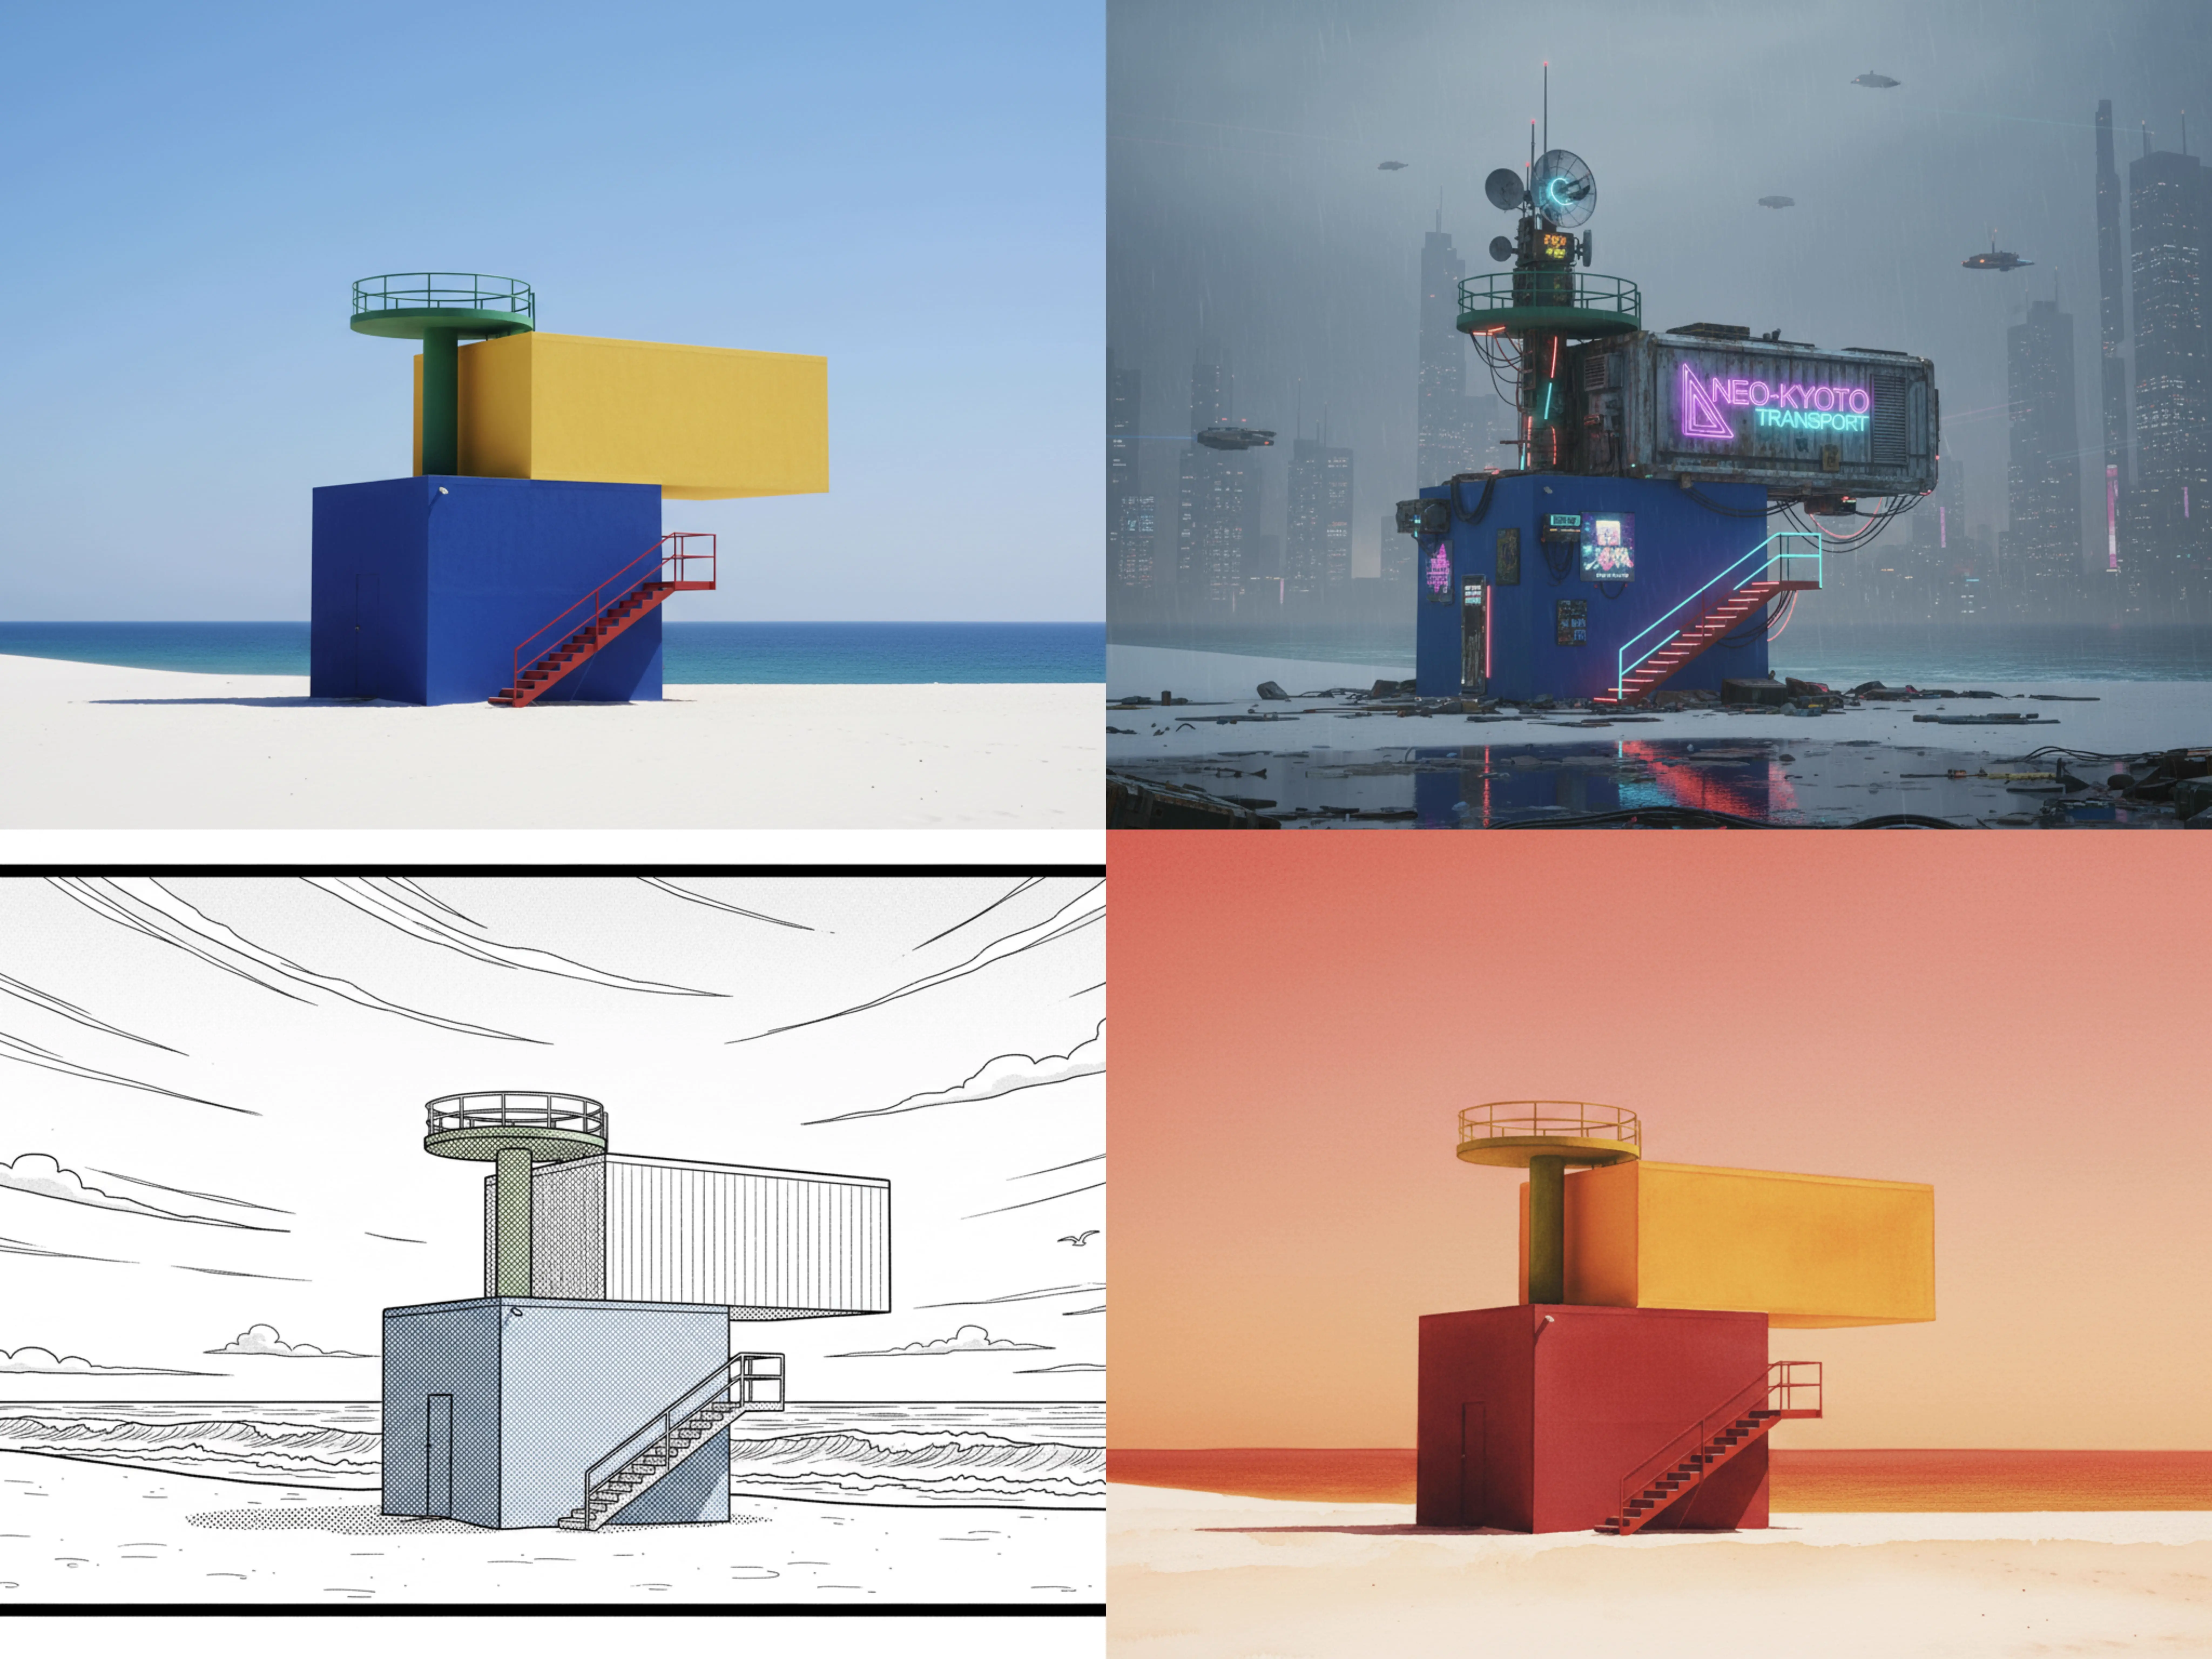
Describe the look you want, from realistic photography to illustration or from bright to warm tones, and prepare different versions for your content.
Add or replace objects in a photo
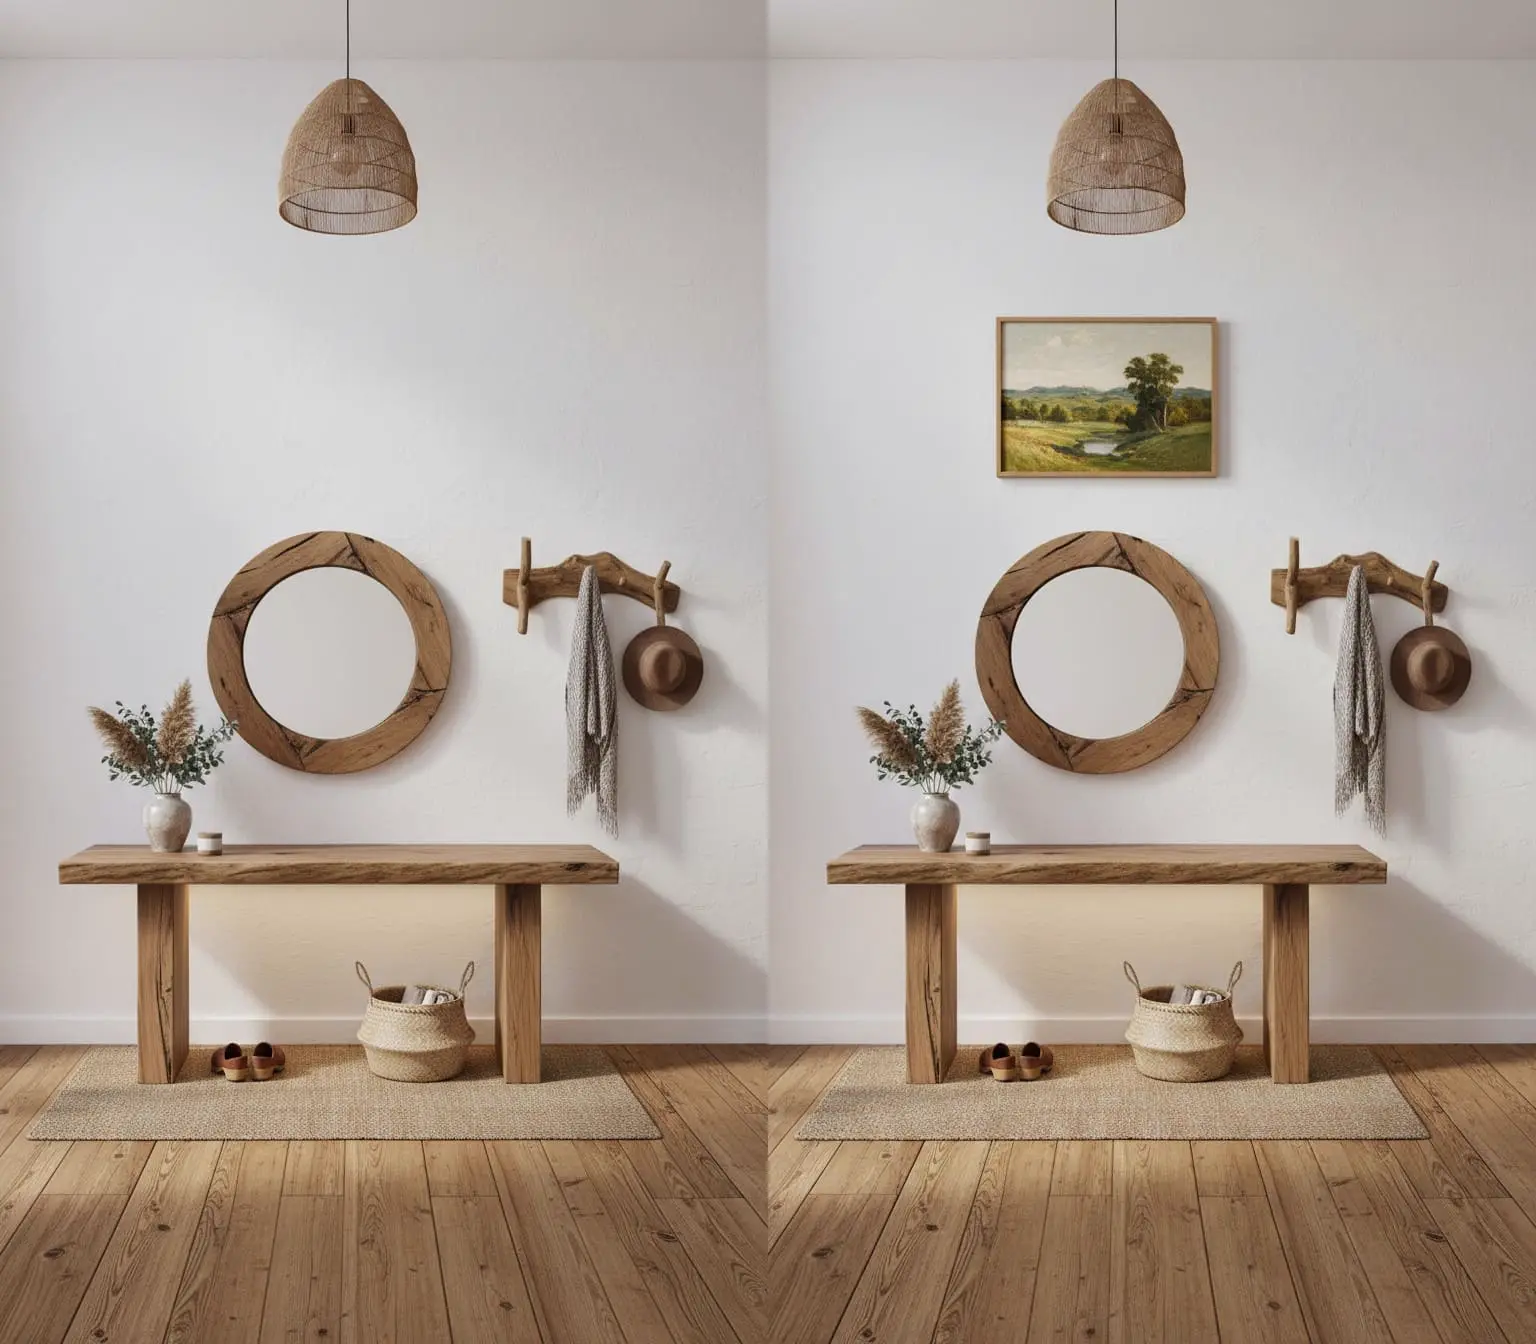
Tell AI what to add, where to put it, or which object to replace, so you can try new props and creative details.
Describe a different setting
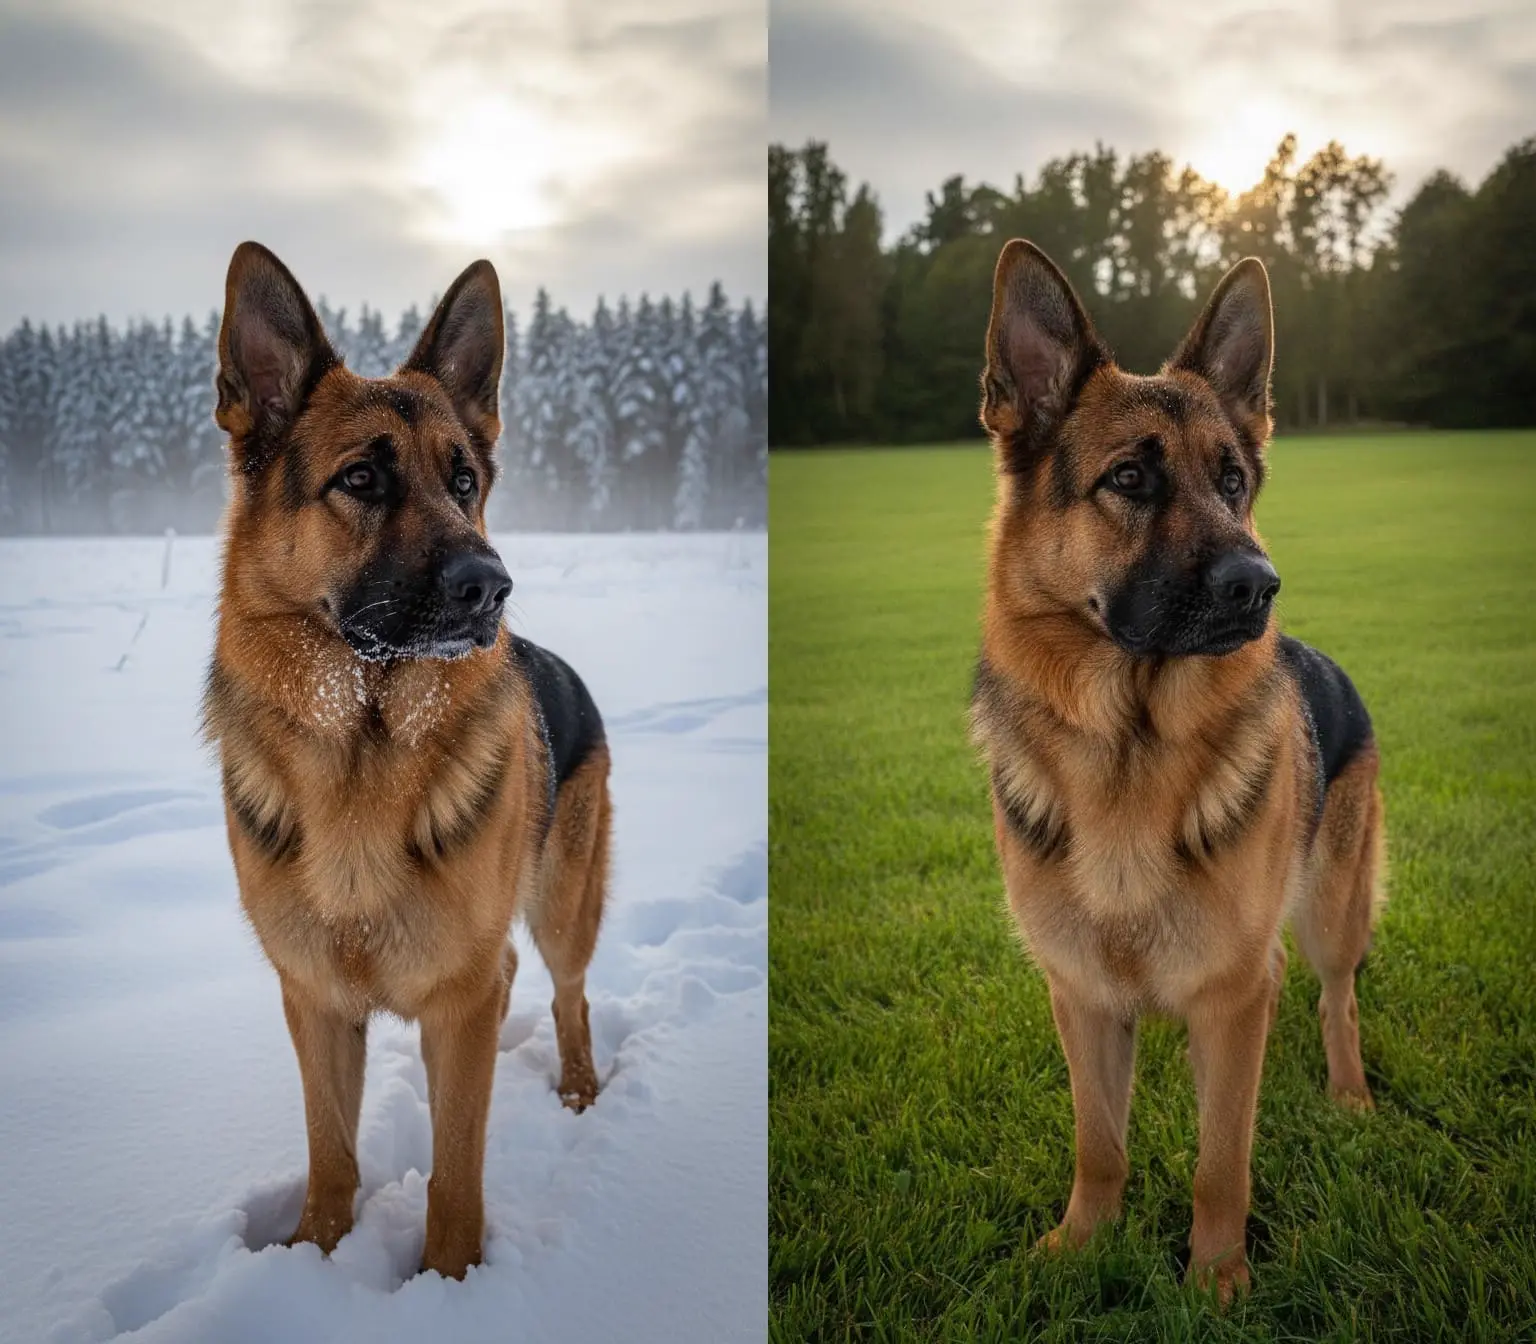
Try another environment for a person or product and explain what you want to keep. If your main goal is a new scene, you can also use the AI background changer.
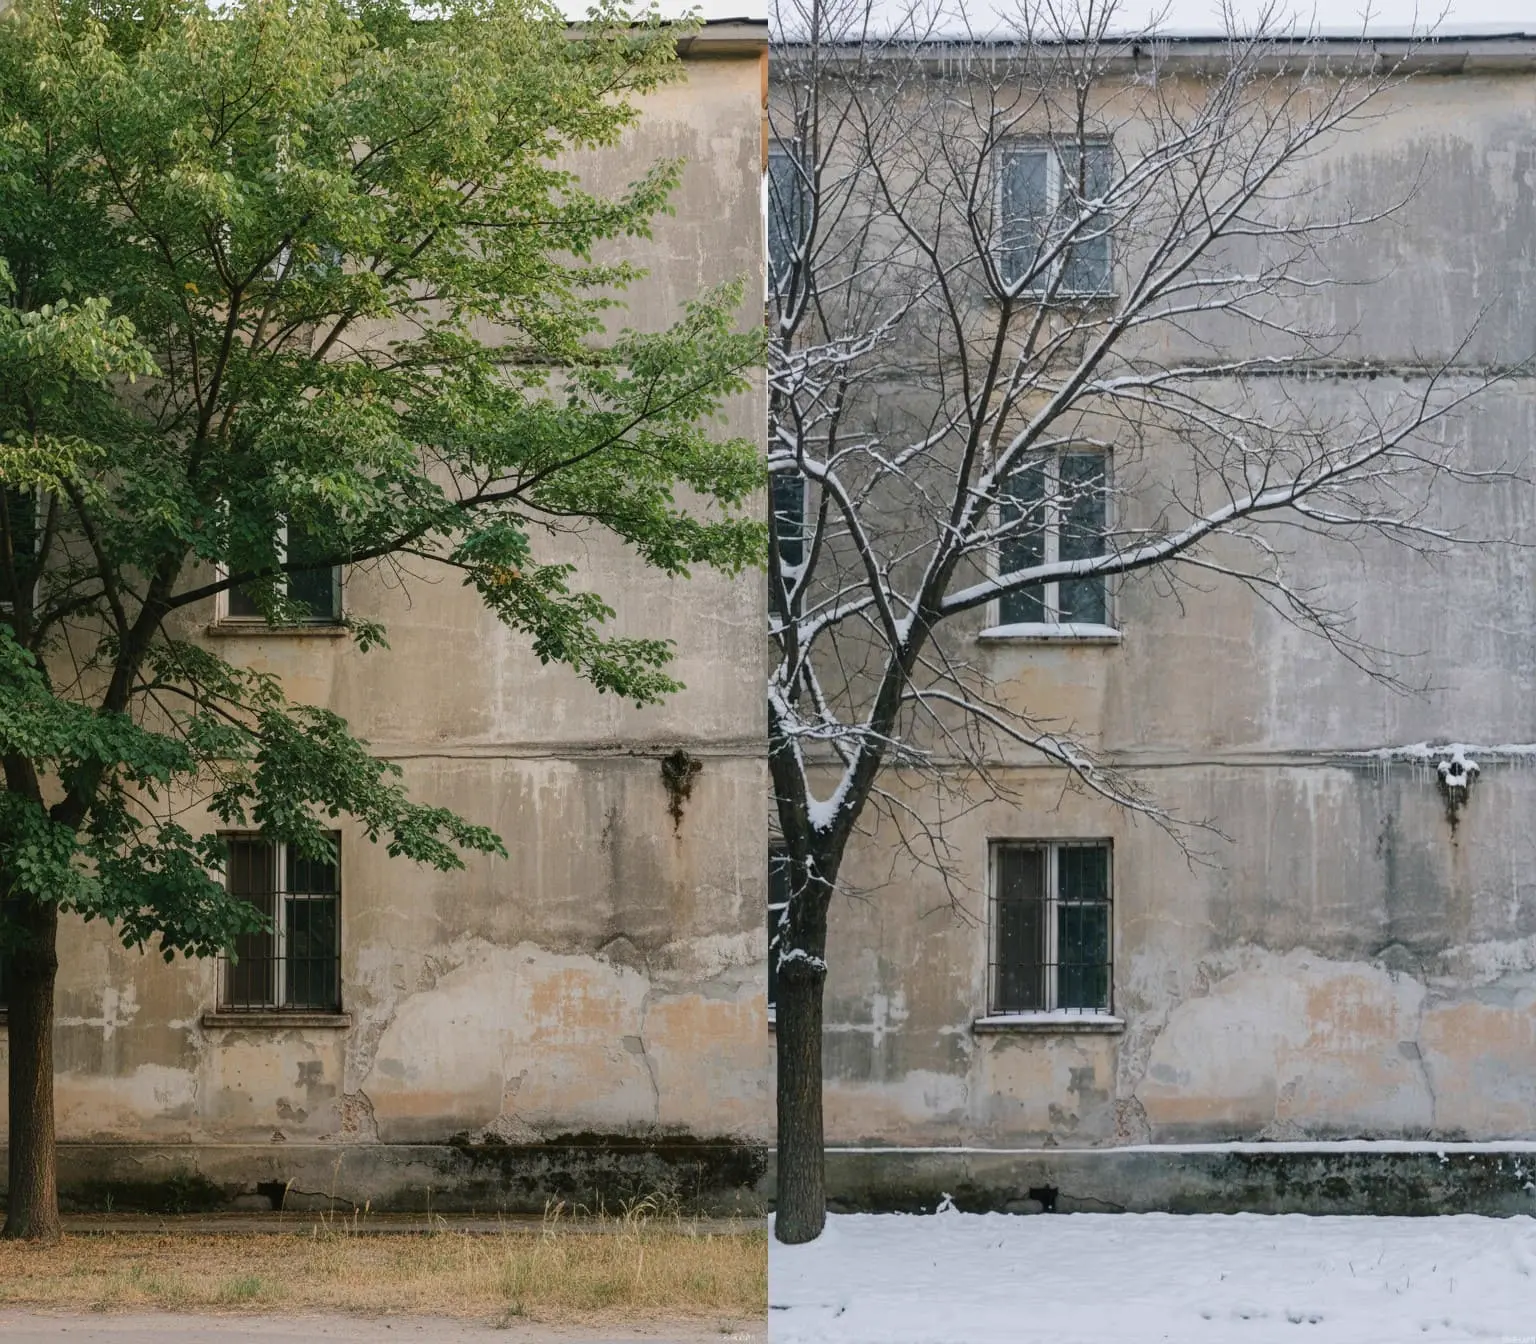
Explain the details you want to edit
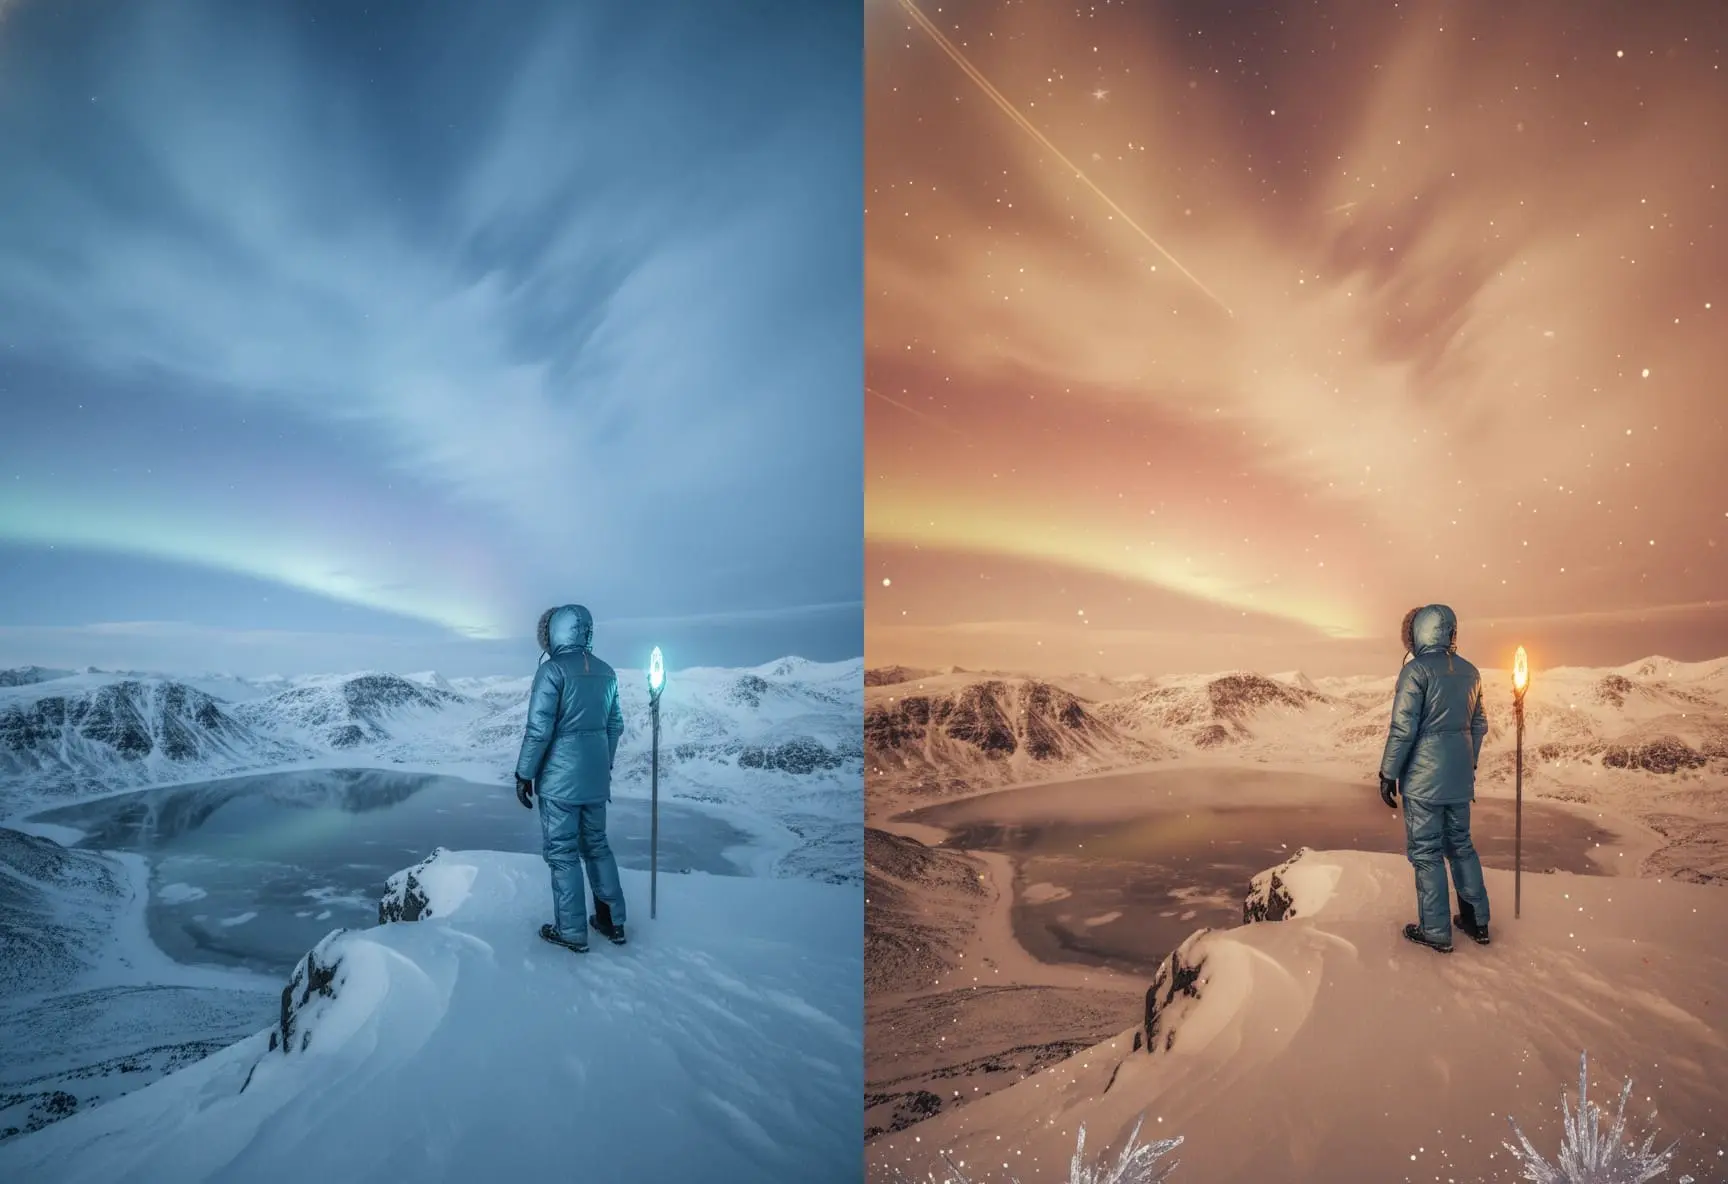
Specify the color, season, or detail to change and the subject to keep. Compare the result with your original, as AI may also alter other areas.
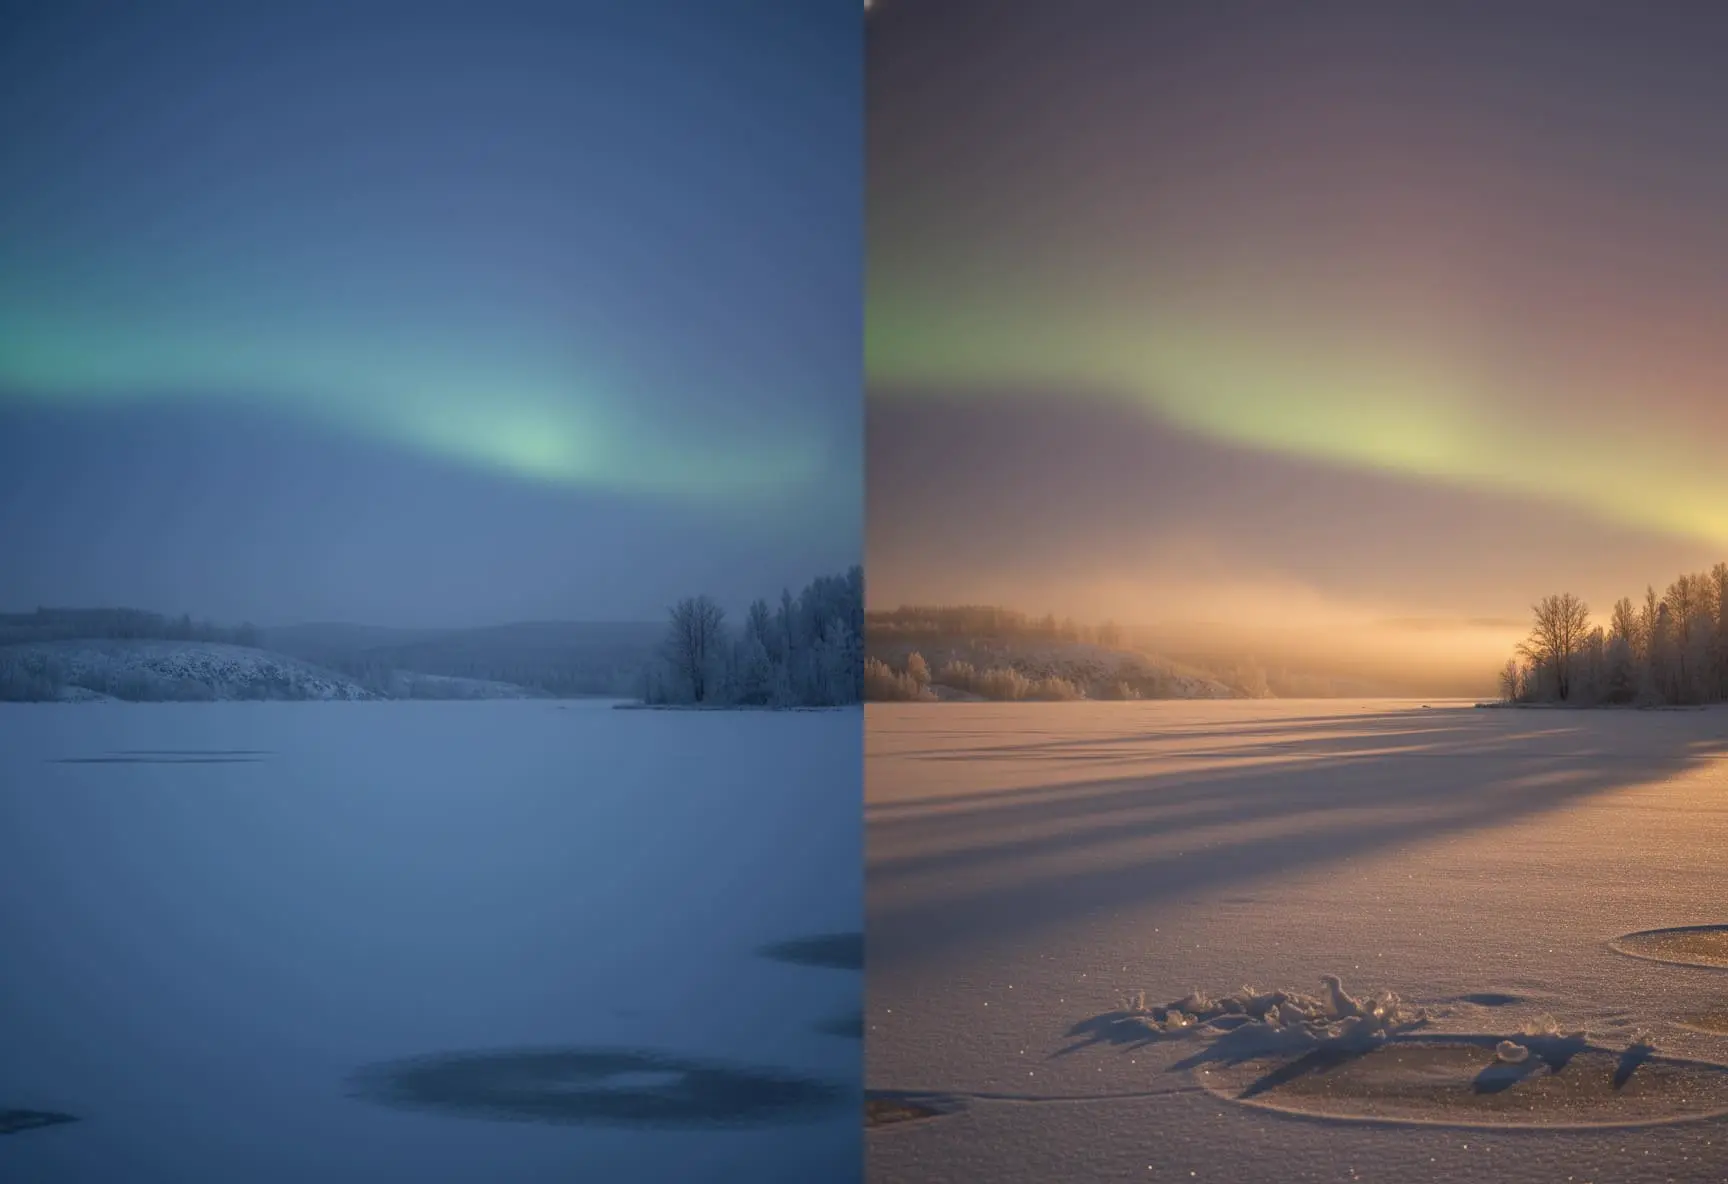
Adjust the lighting and mood
Describe the brightness, color temperature, and light direction you want to explore. Review the subject and image details after generation.